Monday, May 4, 2020

Fillings for Pasties

Pasties are an appetizer type of finger food made with my fluffy pastry. I love these because it allows me to use up left over protein.  My Prawn Herb Pasties are delicious but a little bit more complicated then this recipe.  Please see the link below for the prawn recipe.

Simple left over protein pasties.
2 cups of left over chicken, beef, ground beef or turkey - cooked
1/2 cup frozen peas
1 cup potatoes - cooked & small diced 
any other vegetables that are cooked and left over such as carrots, brussel sprouts, turnip  - small diced
1 tsp. potato starch, corn starch or flour (for thickening)
1/8 cup vegetable broth.
salt & pepper to taste
Fresh vegetables can be added instead of cooked vegetables but they have to been very small diced so they cook quickly when put into the oven.
Add together in a large bowl. Mix well.
To see my recipe for the pastry please click on this link https://cookinguncovered.blogspot.com/2020/05/pastry.html


Roasted Pork Loin Rack

When I was at Kelsey and Jonathan's home in Calgary I cooked this pork roast one
evening and it was a big hit.  The trick with pork is to NOT overcook it because it can come out very dry. This is why I always use a probe thermometer. Below is my 'best practices' when cooking this type of pork rack roast.

Ingredients:
1 bone in Pork Loin Rib rack
2 large carrots
seasoning blend -1 tsp. pepper,
1/2 salt, 1 tsp. herbs (herb de provence)

Suggested equipment:
digital probe termometer
roasting pan

Rinse pork roast well under cold water and dry with a paper towel.
Pre measure your seasoning blend into a small bowl (this prep will ensure you are not putting raw pork juice all over your salt and pepper shaker)
Drizzle roast with olive oil and with your clean hands rub the seasoning mix onto all surfaces of your roast.
Wash 2 or 3 carrots. Cut them in half and use the carrots as your rack to keep the roast off the bottom of the roasting pan (see pic below).
Pre heat oven to 450° F (233°C).
Carefully insert the tip of the probe thermometer into the center of the roast, ensure you are not touching or close to the bones. This short video will be posted on Instagram and FB for you to see.
Set thermometer to 145° F and the alarm will sound when the internal temp. of the roast is 145°. 
Set your oven timer for 30 minutes. After the first 30 minutes reduce oven temp to 350°F and continue to roast until the thermometer's alarm sounds to tell you to take the roast out of the oven.
Remember that the roast will keep cooking after it is out of the oven. The temp will continue to go up and when I served my roast the internal temp was 152° F. Which is perfect.
Allow the roast to rest for 20 minutes and the serve with your choice of vegetables.


I use large carrots sliced in half for a rack

152° F is the internal temp of the roast when I sliced it and served

prep a small bowl of your seasonings 


Friday, May 1, 2020

Pastry - half recipe

Pastry made simple:


Suggested equipment:

hand mixer

pastry blender

rolling pin
plastic scraper is handy but not necessary 
if  the pastry needs a smaller shape a cookie cutter is a handy tool.

This pastry is very simply but a word of warning about pastry. It doesn't work well when you over beat 

Ingredients:
1/2 lb. cold shortening (butter or lard can substitute for vegetable shortening)
2 1/2 cups of flour
1/2 tsp. baking powder
1 tsp. salt

1 small egg
2 tbsp. vinegar (I use apple cider vinegar but any vinegar will do)
3/4 cup of ice cold water 

Add all the liquids together.  Whisk until the egg is combined. You may or may not use the entire amount of fluid because it depends on the moisture already in your flour & shortening. Not to worry but if it seems to dry add 1 tbsp. more of cold water.


1.    Cut up shortening into cubes. Add dry  ingredients and shortening to a large mixing bowl.
Cut shortening up into the flour mixture until the shortening has been almost completely incorporated and the shortening is pea size.

2.  Add 3/4 of the egg liquid to the flour/shortening and combine with a fork or a hand mixer.  Careful not to over mix at this stage or your pastry will become tough. When the pastry starts to come together gently form into a ball with your hands. If you find it too dry, add a little more of the egg liquid until the pastry comes together and can be formed into a ball.  
3.     Gently press the dough into a flat disc and wrap in parchment paper and store in the fridge to chill until needed.


Miriam's Time Saving Tip♥ Making this pastry ahead is a great time saver. It keeps well for days in the fridge as long as it is wrapped well. If not being used it is convenient to freeze the pastry for future use. Also, after making your pie freeze the remaining pastry for later use.


Miriam's Time Saving Tip♥ If using a stand mixer in pastry making do not multi task. Stay at the mixer and pulse the machine on and off until the flour and shortening are slightly mixed but not totally combined. There should still be big size chunks of shortening (mealy) showing and plenty of loose flour. Do not try to incorporate every bit of flour as you may end up over working the pastry and it will be tough and not flaky.

Tuesday, April 28, 2020

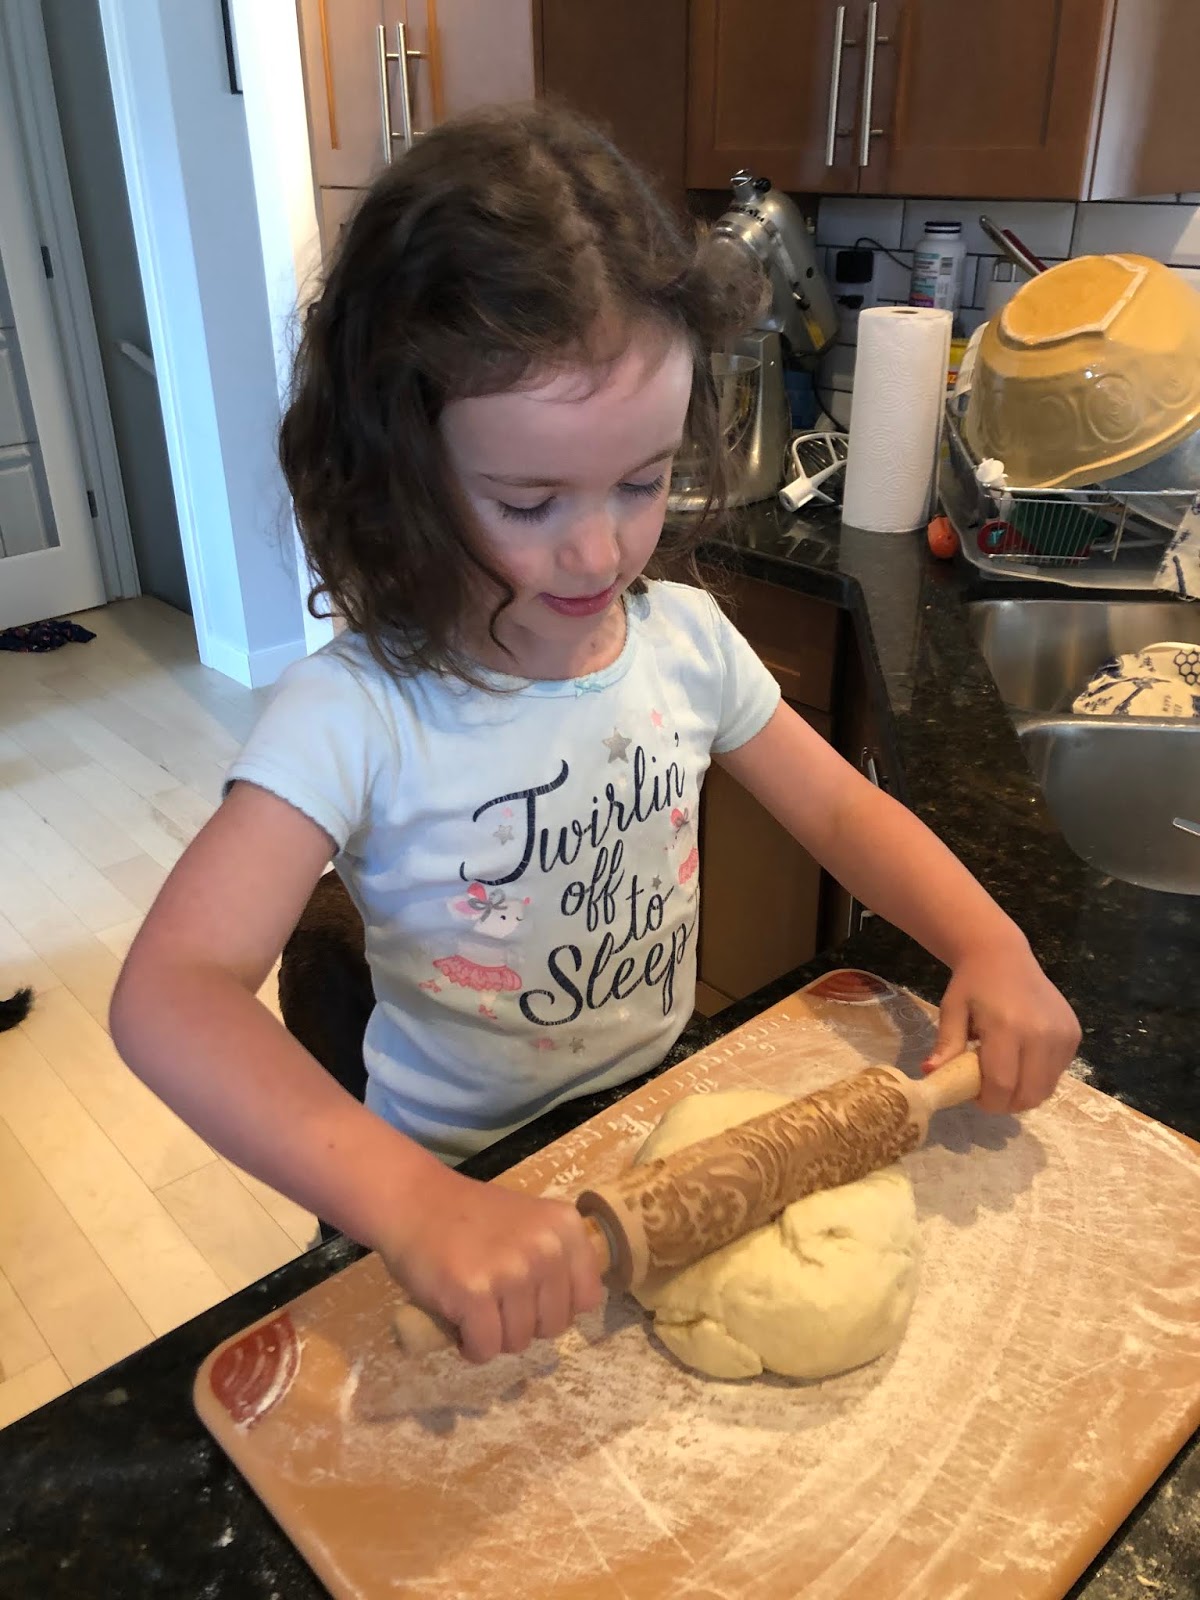
Addie rocks the cinnamon biscuits all the way from Calgary, Alberta


Look at this little 5 year old muffin from Calgary baking up a storm.  She makes it look so easy!  This weeks classes are full but another cinnamon biscuit class plus more will be offered in the future...stay tuned!


Sunday, April 26, 2020

Crumb Cake

This was one of my Mom's recipe additions into the Annunciation Parish (Calgary) cookbook when I


was a young girl, published by the CWL in the early 1960's.
It was one cake I remember making hundreds of times.  Hope you enjoy!

3/4  cup butter (soft and at room temperature)
1 cup white sugar
2 cups flour

1/2 tsp. cloves
1/2 tsp. nutmeg
1  tsp. cinnamon
1 tsp. baking soda

1 cup sour milk*
1 egg

raisins - 3/4  cup (optional but delicious if you are a raisin fan)


In a large mixing bowl combine soft (but not melted) butter with white sugar. Blend with a mixer until butter softens and sugar is mixed in. Add flour and mix again until the mixture is crumb like.  Don't overmix.

REMOVE 1 CUP OF THIS CRUMB MIXTURE and set aside in another bowl for the top of the cake before it goes into the oven.

To the remaining crumb mixture add spices and baking soda. Stir well to blend.
Add eggs to sour milk and whisk until well blended.
Add sour mixture to the dry and slightly mix. Add dry raisins and continue to combine.

Pour into a well greased cake pan.

Bake for approx. 40-50  minutes or until a toothpick comes out clean when inserted into the middle of the cake.

*to sour milk - add 2 tbsp. lemon juice to the milk - stir well.

reserve 2 cups crumb mixture

add spices and baking powder

this is the original page from my Mom's cookbook...to say it is well used is an understatement. 


add reserved crumb mixture to the top of the cake before going into the oven


Friday, April 24, 2020

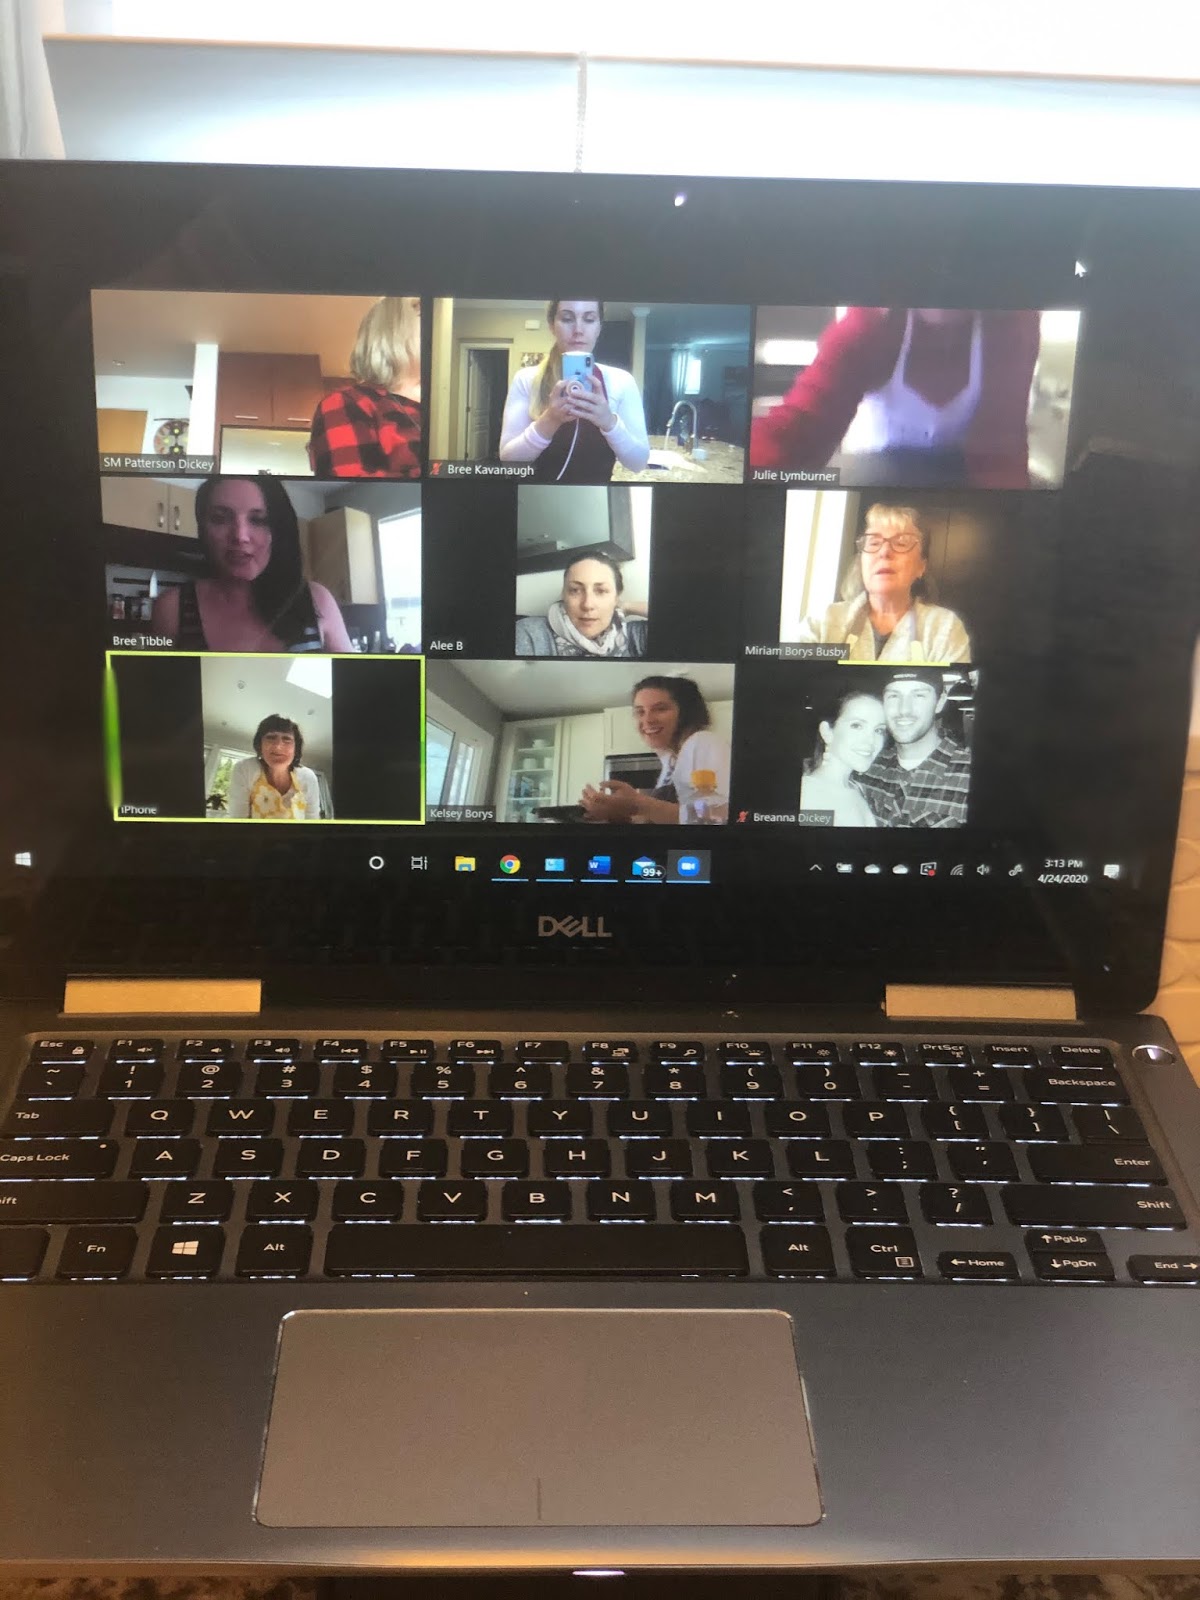
Zoom with me - Cinnamon Biscuit Baking Class

Wow...what a blast to be with such awesome ladies (& a wee buba) teaching them how to make my famous cinnamon
Kelsey my beautiful daughter-in-law
look at this little beauty
biscuits. Thanks to Bree T from Victoria, Bree D from San Fran with wee Aria, Devon from Kelowna, my daughter-in-law Kelsey from Calgary, Julie L from Ladner, Alexandra from Vancouver, & Kelly, Maggie from North Vancouver. Click here to get my recipe for these biscuits.

It was fun and I hope we can do this again. 


Turkey Bone Broth

Turkey Carcass Stock Photo - Download Image Now - iStock + Yellow Onion Nutrition Facts - Eat This Much+Bay Leaf at Best Price in India+ water = bone broth


turkey bone      +       large onion    +     bay leaves   +   water
carcass


This is the simple way to make bone broth with a turkey (or chicken) carcass.

Sometimes after cooking a turkey you ask yourself 'what to do with the carcass'? I know a turkey carcass can be bulky and we don't always have the fridge or freezer space to store it but my advice is to immediately make bone broth and then you can use the resulting broth in soup or stews at a later date. Once the broth is cooled in the fridge the excess fat can be removed easily and then you can portion out the bone broth into smaller freezable containers to use later. 

Stove top method: Into a large soup pot add the broken up turkey carcass, onions, bay leaves and cold water to cover. If I had mild vegetables that are just going off I would add these too. Also, if you have leftover vegetables from last nights dinner, add them too...the more the merrier.
Bring up to the boil. Turn the heat down to simmer and continue to cook on the stove top for 2 hours.
Take off the stove and carefully strain the hot broth through a wire mesh strainer to preserve the liquid. Discard everything else.
Allow to cool for 1 hour on the counter and then refrigerate with the lid slightly off to allow the steam to escape.
The next morning you will notice a 'fat cap' which can be removed and discarded easily.

Instant Pot Method
Add broken up turkey carcass, onion, bay leaves and water to the instant pot. 
Close the lid and set on ' pressure cook' on high for 15 minutes.
After the time is finished allow to cool down gradually on it's on or release the pressure manually for quicker results.
Remove the inside pot and carefully strain the hot broth through a wire mesh strainer to preserve the liquid. Discard everything else.
Allow to cool for 1 hour on the counter and then refrigerate with the lid slightly off to allow the steam to escape. The next morning you will notice a 'fat cap' which can be removed and discarded easily.


Thursday, April 23, 2020

Cinnamon Biscuits made easy

This recipe makes 12 small cinnamon biscuits. Thanks to the advice of my
friend Carol in Calgary, I cut the recipe in half which makes it alot easier to make. Hope you enjoy. This batch is going over to my friend Linda Billett who just yesterday lost her little puppy, Hudson. This is a very hard time for people and I hope these recipes help just a little.  Stay safe everyone!

Equipment needed:
muffin tin, or cake pan
pastry cutter (see pic  below)
hand mixer or stand mixer (optional but convenient)

Biscuit dough:
1/2  cup cold butter (1/4 of a pound)
2  1/2 cups  flour – all purpose
1  1/2  tbsp. baking powder 
2  tbsp. granulated sugar
1/2   tsp. salt
1 cup warm water

Cinnamon Topping:
1 cup brown sugar
1 tbsp. cinnamon
1/2  cup very soft butter , not melted but very soft. I have to put mine butter in a warm, turned off toaster oven so that it gets soft, you may want to microwave for 10 sec. at a time, but don't melt it.

Assembly for the dough:
  1. Combine dry ingredients in a large bowl.
    pastry cutter
  2. Add cold butter and cut into the flour mixture with a pastry cutter or with a hand mixer.
  3. Mix until course, the butter will be pea size when it is mixed properly.
  4. Add warm water and mix until the dough comes together. This is best done by hand. Knead a few times to ensure that the dough is smooth.
  5. Remove from the bowl and place on floured cutting board or counter.
Assembly of the cinnamon biscuits below.


  1. Roll out dough into a rectangle with a rolling pin to approximately 10 1/2 inch X 16 inch long .  The dough does not have to be perfectly shaped.
  2. Spread the soft butter onto dough making sure all surfaces are covered.
  3. Sprinkle on the brown sugar and the cinnamon.
  4. Roll dough up into a log roll.
  5. Cut into 10-12 equal pieces with a knife.
  6. Place into a greased muffin tins or a large baking dish.
  7. Bake for 20 minutes @ 375° 
  8. Remove from the oven and take each biscuit out of the pan almost immediately or the biscuit will stick to the pan and it will be very hard to remove.
  9. Serve hot.
Glaze as a topping on baked cinnamon biscuits.
the glaze should be runny

1 cup icing sugar
1/4 tsp. vanilla
5 tsp. water
Mix in a small bowl and drizzle over the hot cinnamon biscuits after you have taken them out of the pan. Jonathan reminded me yesterday that this is how we finished off the biscuits when they came out of the oven at Miriam's.


Pastry Cutter Substitutes (thanks to The Spruce Eats)

A few kitchen tools can be used instead of a pastry cutter. You'll simply want to follow a few tips to make them work out as well and maintain the desired effect for your recipe.
  • Fork: Cut the butter (or whatever fat you're using) into small pieces. Add it to the bowl with your flour and other dry ingredients. Then, use a fork to mash the butter into the flour until you achieve a crumbly consistency.
  • Butter Knives: Add small pieces of butter to the bowl of ingredients and hold one butter knife in each hand. Work both knives over the ingredients until the butter and dry ingredients are well combined.
  • Food Processor: Pulse the butter and dry ingredients in your food processor until you achieve a nice, crumbly texture. It won't take long, so be careful not to overwork the dough.
  • Your Hands: Work the butter into the flour with your hands. Just squeeze the ingredients between your fingers to break up the butter and bring everything together. Use cold hands and try work quickly, so the butter doesn't melt.
  • Cheese Grater: Grate the butter with a box grater, then mix it into the dry ingredients. Use cold butter, so it grates easily. You even can use frozen butter.