Tuesday, April 28, 2020

Addie rocks the cinnamon biscuits all the way from Calgary, Alberta


Look at this little 5 year old muffin from Calgary baking up a storm.  She makes it look so easy!  This weeks classes are full but another cinnamon biscuit class plus more will be offered in the future...stay tuned!


Sunday, April 26, 2020

Crumb Cake

This was one of my Mom's recipe additions into the Annunciation Parish (Calgary) cookbook when I


was a young girl, published by the CWL in the early 1960's.
It was one cake I remember making hundreds of times.  Hope you enjoy!

3/4  cup butter (soft and at room temperature)
1 cup white sugar
2 cups flour

1/2 tsp. cloves
1/2 tsp. nutmeg
1  tsp. cinnamon
1 tsp. baking soda

1 cup sour milk*
1 egg

raisins - 3/4  cup (optional but delicious if you are a raisin fan)


In a large mixing bowl combine soft (but not melted) butter with white sugar. Blend with a mixer until butter softens and sugar is mixed in. Add flour and mix again until the mixture is crumb like.  Don't overmix.

REMOVE 1 CUP OF THIS CRUMB MIXTURE and set aside in another bowl for the top of the cake before it goes into the oven.

To the remaining crumb mixture add spices and baking soda. Stir well to blend.
Add eggs to sour milk and whisk until well blended.
Add sour mixture to the dry and slightly mix. Add dry raisins and continue to combine.

Pour into a well greased cake pan.

Bake for approx. 40-50  minutes or until a toothpick comes out clean when inserted into the middle of the cake.

*to sour milk - add 2 tbsp. lemon juice to the milk - stir well.

reserve 2 cups crumb mixture

add spices and baking powder

this is the original page from my Mom's cookbook...to say it is well used is an understatement. 


add reserved crumb mixture to the top of the cake before going into the oven


Friday, April 24, 2020

Zoom with me - Cinnamon Biscuit Baking Class

Wow...what a blast to be with such awesome ladies (& a wee buba) teaching them how to make my famous cinnamon
Kelsey my beautiful daughter-in-law
look at this little beauty
biscuits. Thanks to Bree T from Victoria, Bree D from San Fran with wee Aria, Devon from Kelowna, my daughter-in-law Kelsey from Calgary, Julie L from Ladner, Alexandra from Vancouver, & Kelly, Maggie from North Vancouver. Click here to get my recipe for these biscuits.

It was fun and I hope we can do this again. 


Turkey Bone Broth

Turkey Carcass Stock Photo - Download Image Now - iStock + Yellow Onion Nutrition Facts - Eat This Much+Bay Leaf at Best Price in India+ water = bone broth


turkey bone      +       large onion    +     bay leaves   +   water
carcass


This is the simple way to make bone broth with a turkey (or chicken) carcass.

Sometimes after cooking a turkey you ask yourself 'what to do with the carcass'? I know a turkey carcass can be bulky and we don't always have the fridge or freezer space to store it but my advice is to immediately make bone broth and then you can use the resulting broth in soup or stews at a later date. Once the broth is cooled in the fridge the excess fat can be removed easily and then you can portion out the bone broth into smaller freezable containers to use later. 

Stove top method: Into a large soup pot add the broken up turkey carcass, onions, bay leaves and cold water to cover. If I had mild vegetables that are just going off I would add these too. Also, if you have leftover vegetables from last nights dinner, add them too...the more the merrier.
Bring up to the boil. Turn the heat down to simmer and continue to cook on the stove top for 2 hours.
Take off the stove and carefully strain the hot broth through a wire mesh strainer to preserve the liquid. Discard everything else.
Allow to cool for 1 hour on the counter and then refrigerate with the lid slightly off to allow the steam to escape.
The next morning you will notice a 'fat cap' which can be removed and discarded easily.

Instant Pot Method
Add broken up turkey carcass, onion, bay leaves and water to the instant pot. 
Close the lid and set on ' pressure cook' on high for 15 minutes.
After the time is finished allow to cool down gradually on it's on or release the pressure manually for quicker results.
Remove the inside pot and carefully strain the hot broth through a wire mesh strainer to preserve the liquid. Discard everything else.
Allow to cool for 1 hour on the counter and then refrigerate with the lid slightly off to allow the steam to escape. The next morning you will notice a 'fat cap' which can be removed and discarded easily.


Thursday, April 23, 2020

Cinnamon Biscuits made easy

This recipe makes 12 small cinnamon biscuits. Thanks to the advice of my
friend Carol in Calgary, I cut the recipe in half which makes it alot easier to make. Hope you enjoy. This batch is going over to my friend Linda Billett who just yesterday lost her little puppy, Hudson. This is a very hard time for people and I hope these recipes help just a little.  Stay safe everyone!

Equipment needed:
muffin tin, or cake pan
pastry cutter (see pic  below)
hand mixer or stand mixer (optional but convenient)

Biscuit dough:
1/2  cup cold butter (1/4 of a pound)
2  1/2 cups  flour – all purpose
1  1/2  tbsp. baking powder 
2  tbsp. granulated sugar
1/2   tsp. salt
1 cup warm water

Cinnamon Topping:
1 cup brown sugar
1 tbsp. cinnamon
1/2  cup very soft butter , not melted but very soft. I have to put mine butter in a warm, turned off toaster oven so that it gets soft, you may want to microwave for 10 sec. at a time, but don't melt it.

Assembly for the dough:
  1. Combine dry ingredients in a large bowl.
    pastry cutter
  2. Add cold butter and cut into the flour mixture with a pastry cutter or with a hand mixer.
  3. Mix until course, the butter will be pea size when it is mixed properly.
  4. Add warm water and mix until the dough comes together. This is best done by hand. Knead a few times to ensure that the dough is smooth.
  5. Remove from the bowl and place on floured cutting board or counter.
Assembly of the cinnamon biscuits below.


  1. Roll out dough into a rectangle with a rolling pin to approximately 10 1/2 inch X 16 inch long .  The dough does not have to be perfectly shaped.
  2. Spread the soft butter onto dough making sure all surfaces are covered.
  3. Sprinkle on the brown sugar and the cinnamon.
  4. Roll dough up into a log roll.
  5. Cut into 10-12 equal pieces with a knife.
  6. Place into a greased muffin tins or a large baking dish.
  7. Bake for 20 minutes @ 375° 
  8. Remove from the oven and take each biscuit out of the pan almost immediately or the biscuit will stick to the pan and it will be very hard to remove.
  9. Serve hot.
Glaze as a topping on baked cinnamon biscuits.
the glaze should be runny

1 cup icing sugar
1/4 tsp. vanilla
5 tsp. water
Mix in a small bowl and drizzle over the hot cinnamon biscuits after you have taken them out of the pan. Jonathan reminded me yesterday that this is how we finished off the biscuits when they came out of the oven at Miriam's.


Pastry Cutter Substitutes (thanks to The Spruce Eats)

A few kitchen tools can be used instead of a pastry cutter. You'll simply want to follow a few tips to make them work out as well and maintain the desired effect for your recipe.
  • Fork: Cut the butter (or whatever fat you're using) into small pieces. Add it to the bowl with your flour and other dry ingredients. Then, use a fork to mash the butter into the flour until you achieve a crumbly consistency.
  • Butter Knives: Add small pieces of butter to the bowl of ingredients and hold one butter knife in each hand. Work both knives over the ingredients until the butter and dry ingredients are well combined.
  • Food Processor: Pulse the butter and dry ingredients in your food processor until you achieve a nice, crumbly texture. It won't take long, so be careful not to overwork the dough.
  • Your Hands: Work the butter into the flour with your hands. Just squeeze the ingredients between your fingers to break up the butter and bring everything together. Use cold hands and try work quickly, so the butter doesn't melt.
  • Cheese Grater: Grate the butter with a box grater, then mix it into the dry ingredients. Use cold butter, so it grates easily. You even can use frozen butter.

Friday, April 10, 2020

Gnocchi

Suggested equipment:


Best Gnocchi Board - FlofloKitchen - DON'T BUY BEFORE READINGA gnocchi board is very handy but not necessary. I have used a fork alot and it works well.
 Wire Mesh Strainer Used in Home, Restaurant, Bakery, Hotel
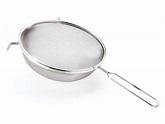
wire mesh strainers are very useful when removing the gnocchi from the boiling water


Ingredients:
2 lbs. russet potatoes (waxy potatoes are the best for this recipe) or 4 cups mashed potatoes
2 egg yolks
1  cup flour
3 tbsp. Parmesan cheese

PROCEDURE: 

Peel potatoes first. Boil or steam potatoes until they are fork tender to start your preparation. Cool potatoes slightly and then mash well. If you have a ricer I would rice your potatoes instead (this makes for fluffier potatoes). 
Set aside to cool.
When potatoes are cool, add Parmesan cheese, egg yorks and slowly add the flour a little at a time.
Stir with a spatula to incorporate all the flour.
When mixing gets hard to do turn the dough out onto a floured surface and continue to mix.
Do not over knead at this time or it will make your gnocchi tough.

divide the dough into 6 equal parts
roll dough to a 1/2 inch tube

cut into 3/4 inch pieces


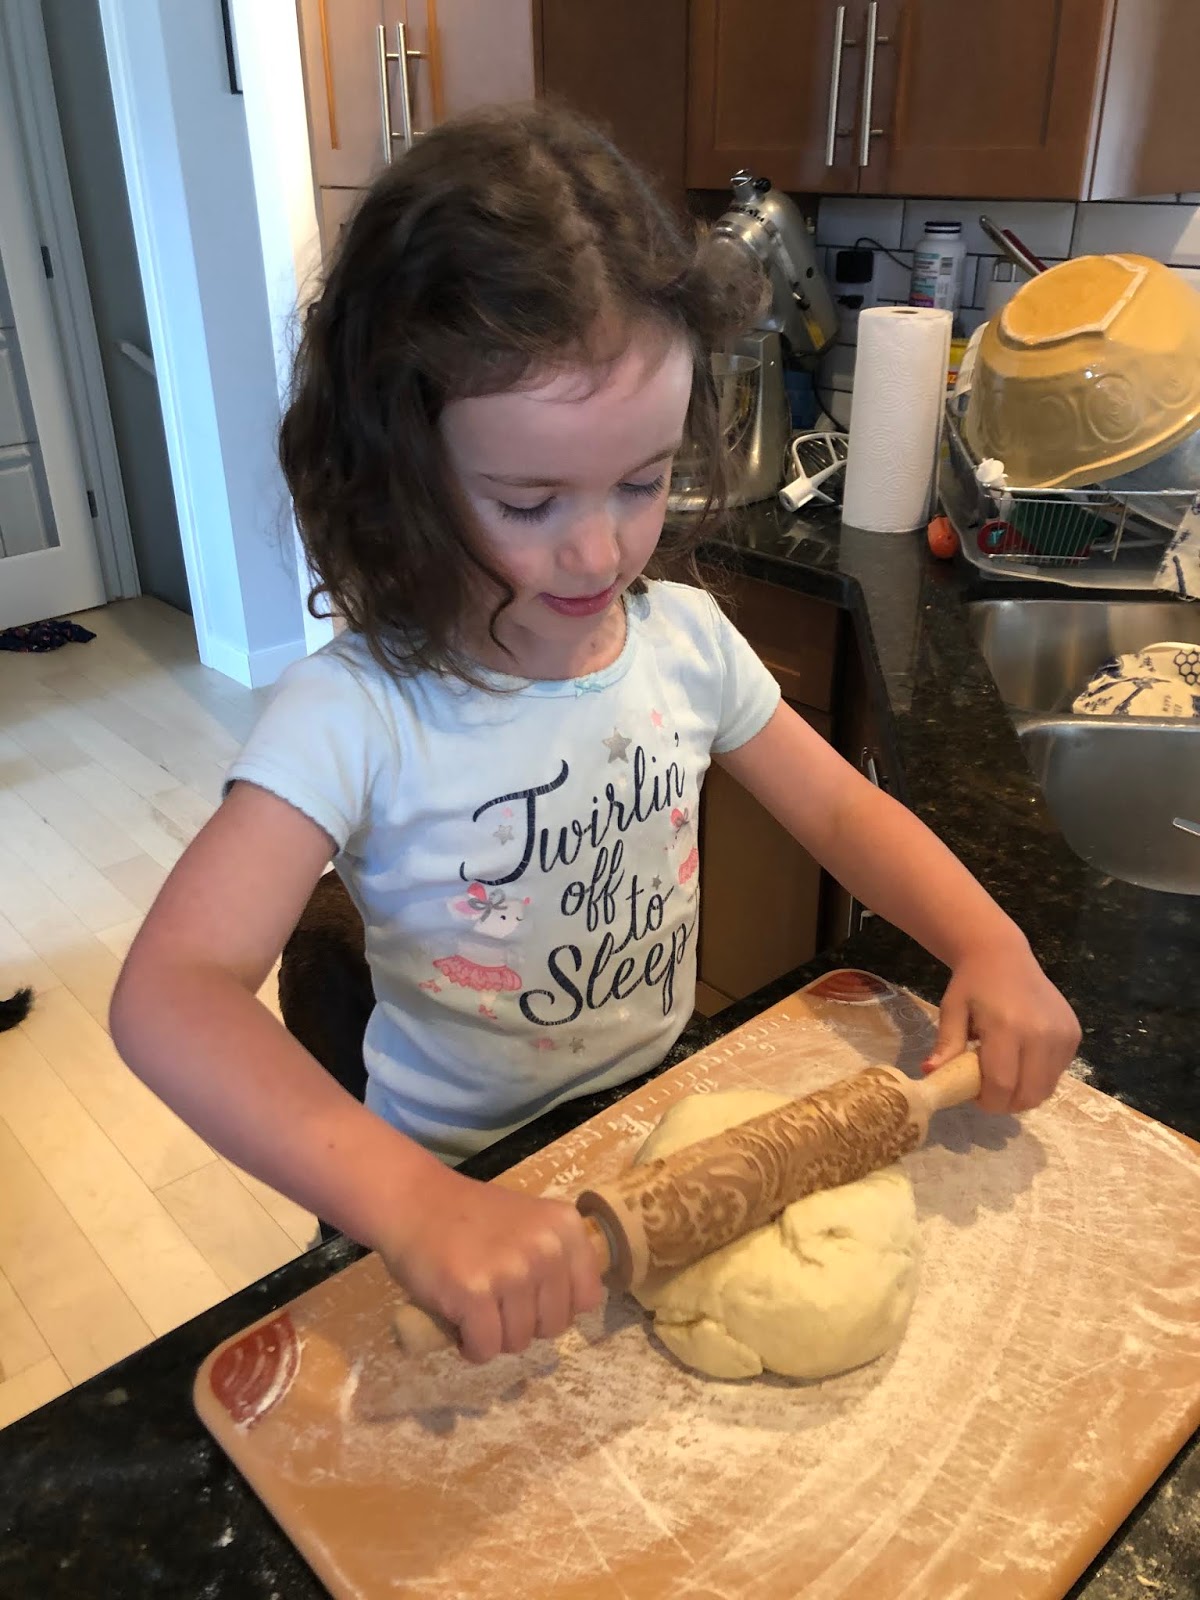
Devon and I rolled each little gnocchi with the inside of the fork, not an easy task. Then I phoned my friend Linda Zuc and Marty who suggested that you use the back of the fork. She said you roll the little pieces up the back of the fork, which sounds much more efficient. Next time this is the method I am trying.

Once all the rolling is done allow the gnocchi to sit and semi dry out.

BOILING GNOCCHI
The first step in cooking the gnocchi is to put a large pot onto the stove with well salted water.
Bring to the boil.  Add gnocchi, one at a time and gently stir so that nothing sticks to the bottom of the pot.
When the gnocchi floats to the surface it is done.
Strain carefully and gently and add cooked gnocchi into the large skillet.

GNOCCHI SAUCE
When you fry the gnocchi after boiling make sure you use a large skillet. You do not want to overcrowd the gnocchi.
This time I melted 3 tbsp. butter in 3 tbsp. olive oil.
Sauté garlic (5-6 cloves of garlic) in oil (careful not to burn the garlic or you will have to start over).
5-6 basil leaves (diced small) are added to the oil mixture.
Gently pour in the gnocchi and toss gently in the oil mixture.
Serve hot.
Finely grate parmesan cheese onto your serving of gnocchi.

Our dinner was delicious...the gnocchi was light, fluffy and so very delicious.
Good luck with this recipe. Let me know if you have any issue.

The issue with Gnocchi is perfecting the technique of rolling each piece to get the ridges. Below (click on the link) is a really good description of how to shape the gnocchi.
To shape the gnocchi hold a fork in one hand (see photo) and place a gnocchi pillow against the tines of the fork (or gnocchi board), cut ends out. With confidence and an assertive (but very light) touch, use your thumb and press in and down the length of the fork. The gnocchi should curl into a slight "C" shape, their backs will capture the impression of the tines as tiny ridges (good for catching sauce later). Set each gnocchi aside, dust with a bit more flour if needed, until you are ready to boil them. This step takes some practice, don't get discouraged, once you get the hang of it it's easy.


Tuesday, April 7, 2020

Meat Pie Mir's Style

  • Meat Pie for an early Christmas dinner
     this year 2023


  • This meat pie is my version of Tourtiere which is a delicious French Canadian savory pie. I am adding a combination of some different spices and liquids that seem to add just the right amount of savoury and aromatics. I am happy to say that it was delicious and Gary even had a second helping at dinner!
  • As usual with my recipes you can substitute ingredients especially during the Covid-19 crisis when we are not free to shop at a whim when we are out of ingredients. For example we didn't have fresh carrots in the house so we used the frozen mixed vegetables. If you don't have dark beer and/or beef broth use chicken broth and any beer or red wine instead.
  • Ingredients:
    2 tbsp. olive oil
  • 1  1/2 lbs. ground beef
    2 large onions - small diced4 stalks of celery5 cloves of garlic
  • 1  1/2 cups beef bone broth1 tsp. 'better than bouillon' roasted beef base
  • 1 tbsp. herbes  de  Provence
    1/2 can of dark beer (we used Guinness)
    4 tbsp. worchestershire sauce
    salt & pepper tp taste
    just a smidge less than 1/8 tsp. each of cloves, cinnamon and allspice
    4 bay leafs
    1 tbsp. herbes de Provence (this is a blend of thyme, fennel, basil, savory & lavender)
    2 cups of frozen mixed vegetables (or fresh vegetables of choice)
    2 cups shredded raw potatoes (we shredded up mini potatoes because that is all we had in the house at the time)
    1 1/2  tbsp. corn starch added to 1/4 cup of cold water 

  • 1/2 recipe of savory pastry (please click here to go to my recipe) 
  • Filling procedure:
    Sauté beef with onions, celery and garlic until onions are transparent or 3/4 cooked.  Add spices and herbs and mix well.
    Add beef broth, beef base, beer and continue to sauté until boiling.
    Add corn starch mixture which will help thicken the filling, stir well.
    Add shredded potatoes & vegetables and mix well again. Remove from the heat. The potatoes and vegetables will cook completely in the oven.
  • Line a deep-dish pie plate with pastry. Spoon in filling, spreading evenly. Cover with a top crust and cut a vent whole in the pastry to allow the steam to escape. Egg/milk wash top pastry (1 egg mixed with 3 tbsp. milk, whisk together and use a pastry brush to egg wash the pastry)
  • Convect bake for 60 minutes at 350 degrees F (175 degrees C).  Allow to rest for 20 minutes after baking and serve hot.
    Hope you enjoy.

  • shredded potatoes
    frozen mixed vegetables

    add peas also


    these potatoes work well as they were the only potatoes in the house.
    Potatoes help with the thickening of the filling.